Spring Animation with GLSL Shader
One of the most complex and intriguing parts of our new callstack.ai website is the DeepCode Engine card. It starts out as a blank, black section, and smoothly reveals its contents when scrolled into view, using multiple synchronised animations:
- Lottie animation with the “bubbles” plays.
- A GLSL shader with the light rings plays.
- The text becomes visible.
You can see it in action in the video below.
CSS Gradient vs Shader
We initially began with an animation rendered with Cinema 4D and exported in the Lottie format (more on that later). Our initial idea was to animate a gradient background using css (since you can totally do that) while the animation plays, but it just didn’t feel right.
CSS gradients are linear, and stacking them can be less effective - we needed more complexity to achieve the same effect we use elsewhere on our website. We have decided that css gradients are not enough for our use-case, and we needed to use a shader instead.
GLSL Shader
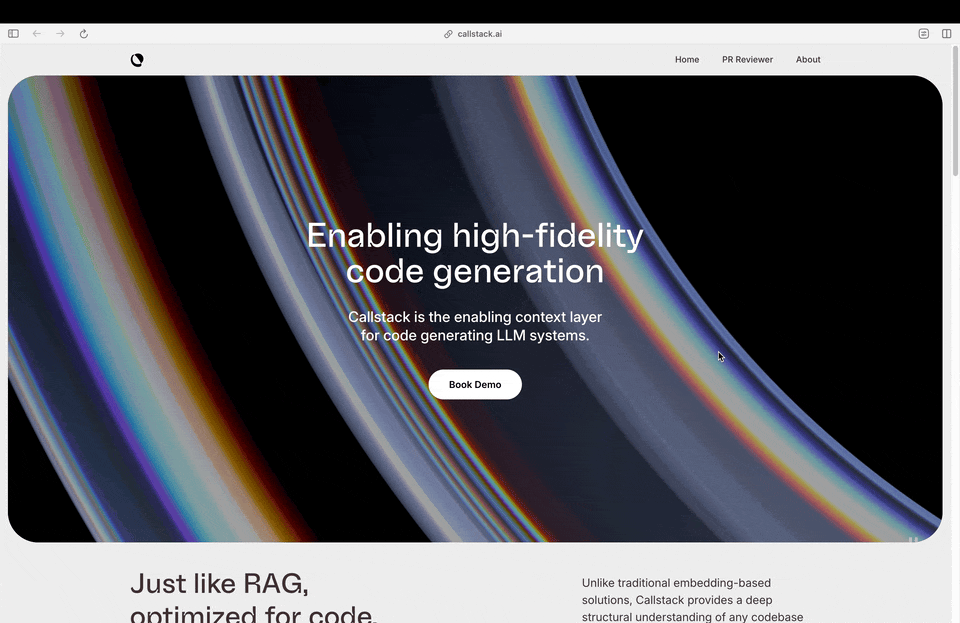
The website theme focuses on physical phenomena, mainly light interactions with different mediums, such as dispersion. We aimed for the reveal animation to reflect that theme, so we have started with a simple light rings with simulated “dispersion”.
The dispersion effect is achieved by drawing 3 concentric rings with slightly different radii. We then take one channel from each one and combine them into the final color, achieving the effect of light splitting into its components. It was love at first sight.
Animated Shader
What we needed next was the animation. One way to do it would be to just draw the circles in the final state and scale up (and fade in-out) the whole canvas with a css transition. This could work, but the transition would be linear.
We again needed something a little bit more complex. Lucky for us, it is pretty easy to animate the shader itself. All you have to do is use some value (like time) to calculate the radius of the rings. We have used the absolute value of sin function with the time uniform for our initial prototype.
Now we have the light rings forever looping between radius 0 and 1. We could not use this for the reveal effect, because the animation remains linear, and we could not guarantee that the animation would be in the correct state when the card is revealed.
Additionally, we would have to use some magic constant to start the animation, and stop it at the correct time - once the circles reach the final size.
Passing a Uniform to the Shader
We solved this by passing a uniform to the shader, which controls the animation. The value we pass is calculated using a spring animation from the popmotion library.
Once the canvas is loaded, the animation is started, and on every “tick” the shader is updated with the calculated value. The simplified code appears as follows:
const animateShader = () => {
  import { animate } from "popmotion";

  if (!canvas) {
    setupShader();
  }

  animate({
    from: 10,
    to: 50,
    stiffness: 40,
    damping: 50,
    mass: 20,
    onUpdate: (latest) => {
      canvas.setUniform("u_progress", latest / 100);
    }
  });
};
The outcome looks like this:
Adding the Lottie Animation
The final piece of the puzzle is the Lottie animation. We have used Cinema 4D to create the animation, and exported it as Lottie animation. We are using the Lottie Web library to play the animation.
The simplified version of the whole code looks like this:
let anim;

const setupLottie = async () => {
        anim = lottie.loadAnimation({
            container: document.getElementById('lottie-animation'),
            renderer: 'svg',
            loop: false,
            autoplay: false,
            path: "/path/to/animation.json",
        });

        anim.addEventListener("data_ready", playLottie);
    }

const playLottie = () => {
    if (anim) {
        anim.goToAndStop(0, true);
        anim.play();
        animateShader(); //reference to the shader animation
    }
}

setupLottie();
Orchestrating it All Together
We have a custom logic implemented that can fire an event when an element becomes fully visible. We use this event to start the lottie animation. The lottie animation, however, is not guaranteed to be loaded by this time, so we tie the whole reveal to the lottie animation’s start event. Once the lottie is loaded and starts playing, we start the shader animation and the text reveal.
Conclusion
You can check the final result on our callstack.ai website. The reveal animation is a great example of how you can use multiple technologies and techniques to achieve a complex effect.